How to Choose a Camping Canopy (2026 Guide)
Compare pop-up, screened, and tarp camping canopies. Learn which size, material, and features matter for shade and bug-free outdoor living.
A camping canopy is one of the most versatile pieces of outdoor gear you can own. A good camping canopy turns an open campsite into a livable outdoor room. Whether you need a camping canopy for shade from afternoon sun, cover during a rain shower, or a bug-free space to eat dinner, the right camping canopy makes a difference. But with dozens of options ranging from $60 to $300, picking one involves more than grabbing the cheapest 10x10 you find.
This camping canopy guide covers the four main canopy types, the features that actually matter in the field, and how to choose a camping canopy that matches your specific camping style.
Why You Need a Camping Canopy
Most campers start with a tent and sleeping bag, then realize their biggest complaint isn’t sleeping — it’s being exposed to the elements all day. A canopy solves three problems at once: sun exposure, rain disruption, and insect annoyance.
Sun protection is the most common reason campers add a canopy. On a 90°F day, direct sun on your campsite raises surface temperatures 20–30°F above ambient. A canopy with UPF 50+ fabric drops that significantly. This matters for cooking, eating, and just existing outside your tent during daylight hours.
Rain shelter keeps your group functioning during summer storms. Instead of crowding into a 2-person tent or eating sandwiches in the car, a canopy lets you cook, play cards, and wait out the weather comfortably. The key is choosing a canopy with adequate waterproofing — look for 600mm or higher hydrostatic head rating on the fabric.
Extended living space is the underrated benefit. A canopy creates a defined outdoor area that makes a campsite feel like a destination rather than just a place to sleep. Add a folding table and camp chairs, and you have a functional dining room.
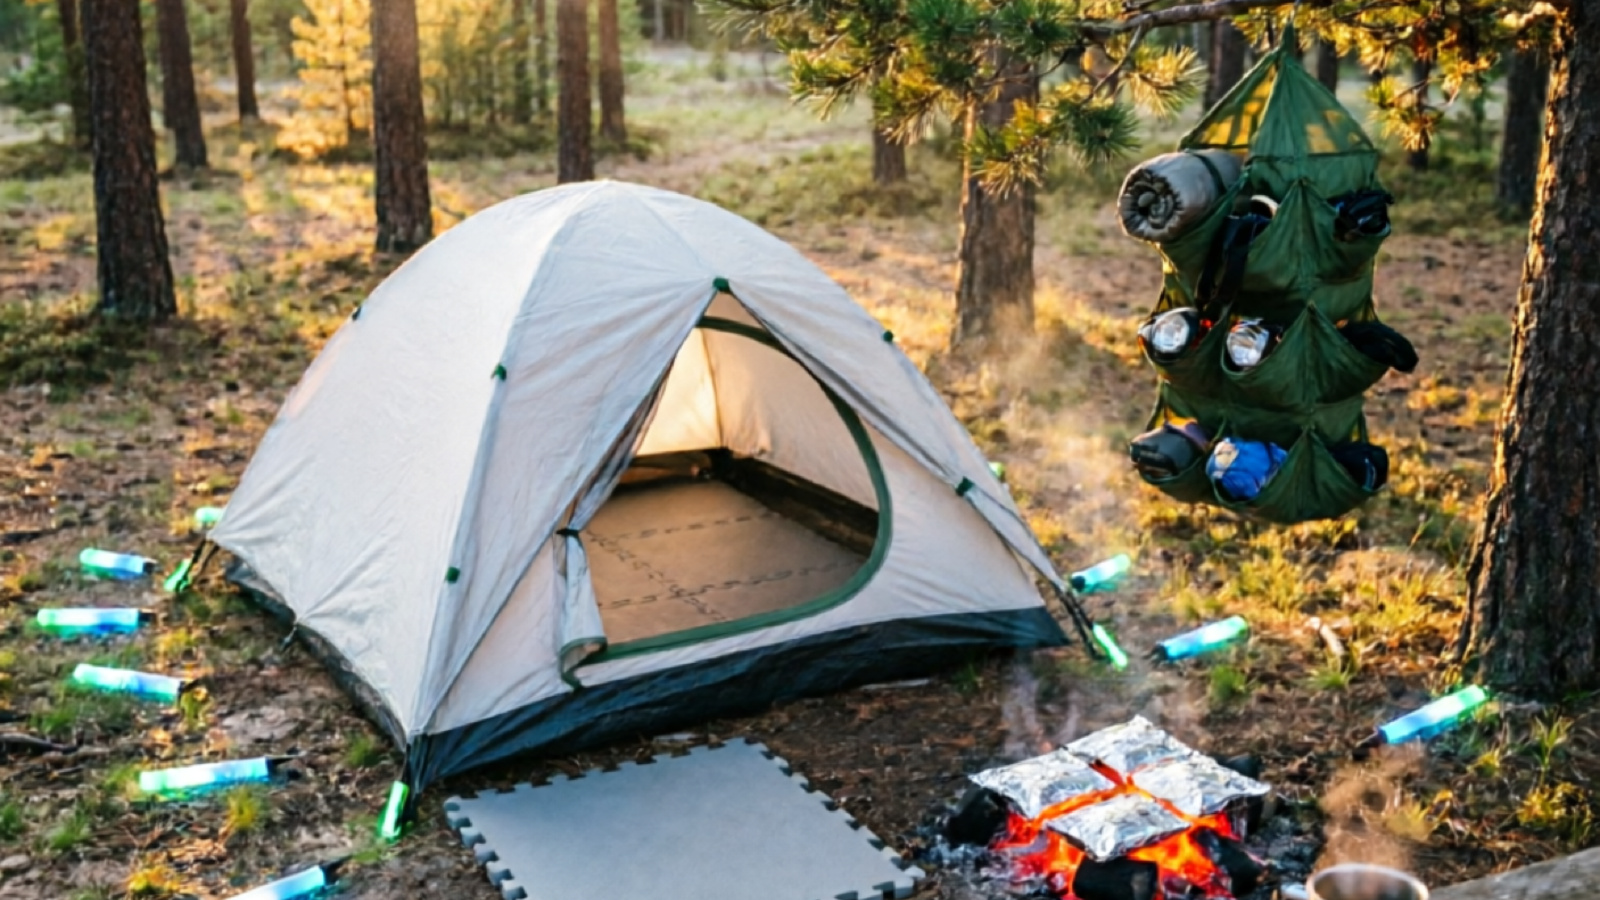
For campers looking to build out their campsite, a camping canopy is the logical next purchase after a tent and sleeping bag. For campers who already have a solid sleeping setup and are now upgrading their daytime comfort, a canopy is the logical next purchase. The CROWN SHADES 10x10 Pop Up Canopy is a strong entry point at under $40, with a patented one-push CenterLok system that sets up in under 3 minutes.
Canopy Types Explained
Pop-Up Canopies (Instant Canopies)
Pop-up camping canopies are by far the most popular choice for camping. The frame comes pre-assembled — unfold it, extend the legs, and you’re done. No poles to thread, no grommets to align.
Two frame designs exist: slant-leg and straight-leg. Slant-leg canopies angle outward at the bottom, which makes them more stable on uneven ground but reduces the actual shade footprint. A 10x10 slant-leg model provides about 64 square feet of true coverage (roughly 8x8). Straight-leg models deliver the full 100 square feet but tip more easily in wind.
Setup speed varies by brand. Basic models require two people to pull the frame open simultaneously. One-push systems like Crown Shades’ CenterLok let a single person deploy the canopy without assistance — pull the central hub upward and the frame locks into position. This matters if you frequently camp solo or pair with a partner who handles other setup tasks.
Sizes range from 8x8 (compact, good for 2 people) to 12x12 (spacious, handles 6–8 people). For most camping groups, 10x10 is the sweet spot — large enough for a table and chairs, small enough to fit in standard campsites.
The SANWAY 10x10 Pop Up Canopy Tent offers a straightforward pop-up design with steel frame, 8 stakes, and 4 guy ropes at a budget price point. It suits weekend campers who need basic shade without paying for premium features.
Screened Canopies
Screened camping canopies add zippered mesh panels on all four sides, turning the canopy into an enclosed bug-free room. This is a game-changer for camping near water — lakeshores, rivers, and marshy areas where mosquitoes and gnats are constant companions.
The trade-off is weight and setup time. The mesh panels add 5–8 lbs to the total weight, and zipping panels into place adds 2–3 minutes to setup. Ventilation can also suffer on still days when there’s no breeze to push air through the mesh.
The Quictent 10’x10’ Pop up Screened Canopy Tent solves the ventilation issue with a mesh roof panel in addition to sidewalls, allowing hot air to escape upward. It includes a wheeled carry bag — important because at 35+ lbs, carrying this canopy by hand over any distance gets tiring fast. This is the right pick if your camping trips happen during peak bug season (June through August in most of North America).
Canopy Tents (6-Sided Shelters)
Canopy tents use a hexagonal or octagonal frame with full fabric walls and mesh windows. They offer more weather protection than standard pop-ups because the angled sides shed rain more effectively and block wind from multiple directions.
The downside is bulk. A 12x12 six-sided canopy weighs 40–50 lbs and takes up significantly more space in your vehicle than a standard 10x10 pop-up. Setup is also more involved — the multi-point hub system requires careful alignment.
These work best for extended base camps where you stay in one spot for multiple days. If you’re moving campsites daily, a standard pop-up is more practical.
Tarp and Awning Canopies
Tarp canopies use a fabric tarp stretched over trekking poles or dedicated upright poles, secured with guylines. They’re the lightest option at 2–5 lbs and the most versatile — you can configure them as A-frame shelters, lean-tos, or flat awnings depending on conditions.
The catch is setup complexity. Unlike pop-ups, tarps require knots, pole positioning, and guyline tensioning. They’re also less stable in wind because the pole supports have a narrower base than a pop-up frame.
Tarp canopies are ideal for backpackers who need shade but can’t carry 30+ lbs of frame. For car campers, the convenience of a pop-up usually outweighs the weight savings.
Key Features to Consider
Size and Coverage Area
The listed size (e.g., “10x10”) refers to the frame dimensions at the top, not the actual shade footprint. Slant-leg canopies lose about 3 feet of coverage per side at ground level. Always check whether a model is slant-leg or straight-leg before comparing sizes.
A useful rule: plan for 25 square feet per person for comfortable seating. A 10x10 straight-leg (100 sq ft) handles 4 people with a small table. For groups of 6 or more, consider a 10x15 or 12x12. Keep in mind that some campgrounds have maximum shelter sizes — a 12x12 may not fit at every site.
Height matters too. Standard canopies offer about 6’6” of clearance at the center, which is adequate for most people but tight for anyone over 6’2”. If you want to stand comfortably everywhere under the canopy, look for adjustable-height legs with a 9’ or 10’ peak option.
Material and Durability
Fabric is the single biggest durability factor. Budget canopies use 170D polyester — light and packable but susceptible to tearing after a season of wind exposure. Mid-range models use 210D or 300D Oxford cloth, which resists punctures and handles UV degradation better. Premium models add a CPAI-84 fire retardant coating.
UV protection ratings matter for summer camping. Standard polyester provides UPF 30–40, which blocks about 97% of UV rays. Look for UPF 50+ fabric if you camp at high altitude or in the southern US where UV intensity is highest.
Waterproofing is measured by hydrostatic head rating in millimeters. A canopy rated at 600mm handles light rain. For sustained downpours, look for 800mm or higher. Seam-sealed construction prevents leakage at stitch lines — a common failure point on budget models.
Frame material comes down to steel vs aluminum. Steel frames are heavier (a 10x10 steel canopy weighs 25–35 lbs) but stronger and cheaper. Aluminum frames save 5–10 lbs and resist rust, but cost 30–50% more. For most car campers, steel is fine — the weight savings of aluminum only matter if you’re carrying the canopy any distance.
Ease of Setup
The fastest camping canopy models deploy in under 60 seconds with one person. The key feature is the locking mechanism — push-button sliders are common but can slip under load. Pin-lock systems are more secure but require manual engagement at each leg. The Crown Shades CenterLok uses a central hub that locks all truss bars simultaneously when you pull it to full extension, which eliminates the need to lock individual legs.
For screened canopies, check whether the mesh panels are permanently attached or removable. Permanently attached panels save setup time but mean you can’t use the canopy as an open shelter on clear days. Removable panels add flexibility at the cost of extra zipping and unzipping.
The Coleman Oasis Instant Pop-Up Canopy Tent uses a branded instant-setup system with a wheeled carry bag and includes a sidewall attachment — useful if you expect sideways rain or want partial wind blocking. Coleman’s brand reputation for camping gear means replacement parts are available, which extends the usable life of the canopy if a component breaks.
Portability and Weight
Packed size determines whether the canopy fits in your vehicle alongside tents, coolers, and other gear. A standard 10x10 pop-up packs into a bag roughly 60” x 8” — about the size of a golf bag. Check your trunk or truck bed dimensions before buying.
Wheeled carry bags are worth paying extra for. A 30-lb canopy carried by hand for 200 feet from parking to campsite is manageable but unpleasant. Wheeled bags turn that same walk into an easy roll. Most canopies in the $100+ range include wheels; budget models under $70 often do not.
Weight ranges from 15 lbs (compact 8x8) to 50 lbs (large 12x12 with sidewalls). For car camping, weight is secondary to durability and features. For overlanding or situations where you carry the canopy any distance, every pound matters.
Wind Resistance
No camping canopy is windproof. The flat top and open sides create a massive sail area that catches gusts. With that said, features that improve wind handling include:
- Vented tops allow wind to pass through rather than pushing against the fabric. This reduces uplift force by an estimated 40%.
- 8-point anchoring (4 stakes at corners + 4 guy ropes at mid-leg) is significantly more stable than 4 stakes alone. Always deploy all guy ropes, even on calm days — gusts are unpredictable.
- Lower profile canopies (under 8’ peak height) catch less wind than tall models. If you camp in exposed areas, consider a canopy with adjustable legs that can be set to a lower height.
For beach camping, replace stakes with sandbags — standard stakes pull out of sand immediately. Fill 4–6 sandbags with 10–15 lbs of sand each and attach them to the canopy legs.
Canopy vs Tent: When to Use Each
A common question is whether a camping canopy replaces a tent. The answer is no — they serve different purposes.
A tent provides an enclosed, weather-sealed sleeping space with a floor, bug netting, and privacy. You sleep in a tent.
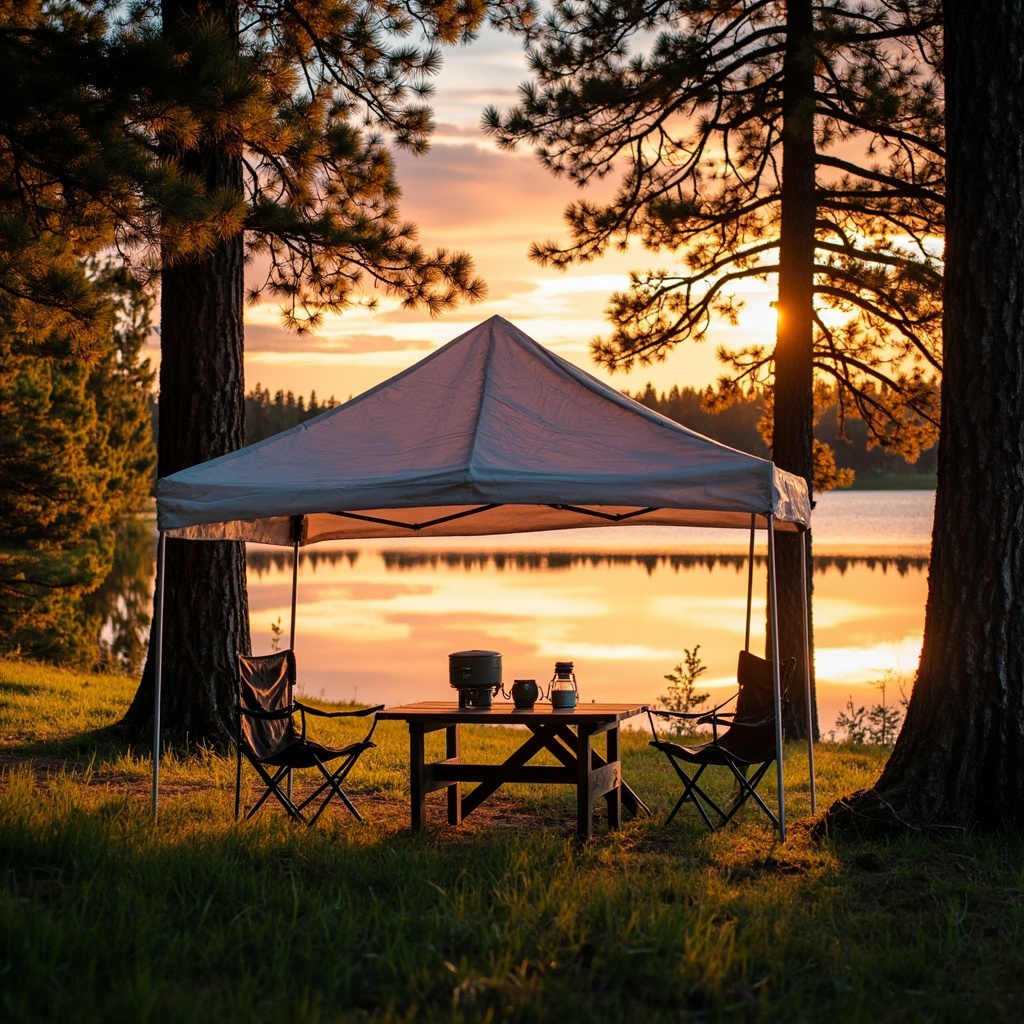
A canopy provides open-air shelter for daytime activities. You cook, eat, socialize, and relax under a canopy.
Some campers use both: a tent for sleeping and a canopy for living space. This two-shelter approach is standard for group camping and extended stays. If you’re deciding between buying one or the other, start with a tent (sleep is non-negotiable) and add a canopy as your second shelter purchase.
For a complete camping setup, a canopy pairs well with a good camp stove for outdoor cooking and a cooler setup under shade.
Canopy for Different Camping Styles
Car Camping Canopies
Car campers have no weight restrictions, so prioritize durability and features over portability. A 10x10 straight-leg canopy with a steel frame, wheeled bag, and vented top is ideal. You’ll use it as a kitchen shelter, dining area, and lounge space throughout the trip.
For families, consider adding sidewalls. A canopy with one or two sidewalls creates a semi-enclosed space that blocks wind from the most common direction at your site. The Coleman Oasis with its included sidewall attachment works well here.
Beach Camping Canopies
Beach conditions are harsh on canopies: salt air corrodes steel frames, UV exposure is intense, and standard stakes won’t hold in sand.
Prioritize rust-resistant frames (aluminum or powder-coated steel), UPF 50+ fabric, and sand anchor compatibility. Many beach-specific canopies include sand bag attachments or auger-style stakes designed for loose ground.
UV degradation is the main killer of beach canopies. A canopy left up for 8 hours in direct tropical sun loses fabric strength faster than one used for 2-hour dinner breaks in a forested campsite. Rinse the canopy with fresh water after each beach trip to remove salt residue.
Festival and Event Canopies
At music festivals and outdoor events, canopies serve as landmarks — your group’s meeting point in a sea of identical tents. Bright colors (red, orange, yellow) make your spot findable from a distance.
For festivals, prioritize quick setup (you may be assembling in a crowded field with limited space) and compact storage (some festivals restrict gear size). A basic 10x10 pop-up with a carry bag is sufficient — you don’t need premium features for a weekend festival canopy.
Setup Tips and Maintenance
What You Need
| Item | Purpose | Recommendation |
|---|---|---|
| Pop-up canopy | Primary shelter | CROWN SHADES 10x10 for budget, Coleman Oasis for premium |
| Stake mallet | Driving stakes into hard ground | Rubber mallet, 12 oz |
| Guy ropes | Wind stability | 4 ropes (included with most canopies) |
| Extra stakes | Backup and sand anchoring | 8 additional metal stakes |
| Sandbags | Beach camping anchoring | 4 fillable bags, 15 lb capacity each |
| Storage bag | Transport and protection | Wheeled bag (included with most mid-range+) |
Setup Steps
Step 1: Choose your placement. Position the canopy on flat, level ground. Avoid low spots where water pools during rain. Face the opening toward the prevailing wind direction for better airflow. Clear rocks, branches, and debris from the setup area — even small sharp objects can puncture the fabric when the canopy is under tension.
Step 2: Deploy the frame. Remove the canopy from the bag and place it top-down (peak on ground, legs pointing up). Grab two opposite corners and pull outward until the frame begins to expand. For one-push models, engage the center hub lock. For standard models, pull all four corners until the frame is fully extended, then lock each leg at your desired height. Common mistake: not locking all legs to the same height, which creates uneven tension and causes the fabric to sag on one side.
Step 3: Attach the canopy top. For pre-attached tops (most pop-ups), the fabric is already secured to the frame — just lift and expand. For separate tops, drape the fabric over the frame and secure with velcro straps at each truss bar corner. Make sure the fabric sits evenly with no bunching or wrinkles — uneven fabric catches wind and flaps noisily.
Step 4: Stake and guyline. Drive stakes into the ground at a 45-degree angle pointing away from the canopy, at least 2 feet out from each leg. Attach guy ropes to the upper leg sections using the provided hooks or rings. Pull each rope taut — loose guy ropes provide zero wind resistance. For high-wind conditions, add mid-leg anchors that connect to the middle of each leg rather than just the bottom.
Step 5: Adjust and inspect. Walk around the canopy and check that all four corners are at the same height. Tighten any loose leg locks. Verify that no fabric is touching the ground or caught on the frame hardware. Push gently on each corner — the canopy should resist movement without wobbling.
Maintenance
- Always dry before storing. Packing a wet canopy guarantees mold growth within 48 hours. If it rains on the last day of your trip, set the canopy up at home or in a garage to dry completely before putting it in the bag.
- Reapply waterproofing annually. Spray-on DWR (durable water repellent) treatment restores water resistance to faded fabric. One can ($10–15) treats a 10x10 canopy.
- Store indoors. Garage or basement storage is fine. Avoid leaving the canopy in a hot car trunk for weeks — prolonged heat degrades the fabric coating.
- Inspect the frame after each trip. Check for bent legs, cracked joints, and frayed guy ropes. Most frame failures happen gradually — catching a bent leg early prevents a mid-setup collapse.
For more camping skills and setup guides, browse our full collection of how-to articles.
Conclusion
Choosing a camping canopy comes down to three decisions: type (pop-up for most campers, screened for buggy areas, tarp for backpackers), size (10x10 standard, 12x12 for large groups), and durability tier (budget under $70 for occasional use, mid-range $70–150 for regular campers, premium $150+ for heavy or frequent use).
If you’re buying your first canopy, a 10x10 pop-up from a reputable brand is the safest choice. The CROWN SHADES 10x10 offers exceptional value at $36 with a one-push setup that works solo. For campers who want a name-brand option with sidewall capability, the Coleman Oasis at $94 provides weather versatility and brand reliability.
For product-specific comparisons with detailed ratings, see our best outdoor canopies review — we break down 10 models across budget, mid-range, and premium tiers.
Frequently Asked Questions
How much wind can a camping canopy withstand?
Most standard pop-up canopies handle winds up to 20–25 mph when properly staked with all guy ropes attached. Heavy-duty models with vented tops can handle gusts to 35 mph. Anything above 40 mph risks structural damage — take the canopy down.
Can I leave my camping canopy up overnight?
Not recommended. Overnight dew and unexpected wind gusts can damage the frame or saturate the fabric. At minimum, remove the canopy top if you leave the frame standing. Always collapse fully if wind is forecast.
Do I need a permit for a canopy at a campsite?
At most national and state parks, no permit is needed for a standard 10x10 pop-up canopy. Some developed campgrounds with shelter size restrictions may limit canopy footprint. Check individual campground rules before your trip.
How long do camping canopies last?
A quality pop-up canopy lasts 3–5 camping seasons with regular use. Budget models ($50–70) may show frame fatigue after 1–2 years. Storing dry, avoiding prolonged sun exposure, and handling setup carefully extends lifespan significantly.
Can I attach sidewalls to any canopy?
Most 10x10 pop-up canopies accept universal sidewalls via velcro strips on the truss bars. However, sidewall fit varies by brand — a Crown Shades wall may not align perfectly on a Coleman frame. Check for compatible sidewall accessories from the same manufacturer.
What is the difference between slant-leg and straight-leg canopies?
Slant-leg canopies have angled legs that reduce the actual shade area by about 3 square feet per side. A 10x10 slant-leg provides roughly 8x8 of true shade. Straight-leg models deliver the full listed coverage area but cost more and are slightly less stable in wind.